Best Video Mergers
Try Movavi Video Editor!
- Edit and enhance videos easily
- Add stylish transitions, titles, and filters
- Stabilize and reverse video, equalize sound, and more
More video footage is generated daily than ever before, and that means more people are looking for basic editing functionality. In this guide, we’re exploring how to combine videos using simple software on your Windows or Mac computer, or even on a mobile device. It is so easy to stitch videos together that virtually anyone can learn the steps to use video merger and editing software in a matter of minutes.
At Movavi, we’re committed to providing you with verified information only. Here’s what we do to ensure this:
When selecting products to include in our reviews, we research both demand and popularity.
All products mentioned in this article have been tested by Movavi Content Team.
When testing, we compare key parameters, including video and audio trimming, visual effects, stabilization, video quality adjustments, saving and sharing videos, and other significant features.
We study user reviews from popular review platforms and make use of this information when writing our product reviews.
We collect feedback from our users and analyze their opinions of Movavi software as well as products from other companies.

Though Mac is popular for video and audio editing, there are still many people running Windows 10, 8, and 7, who want a simple way to merge video files.
Movavi Video Editor
Best for:
Detailed edits
Price:
Free trial, HK$439
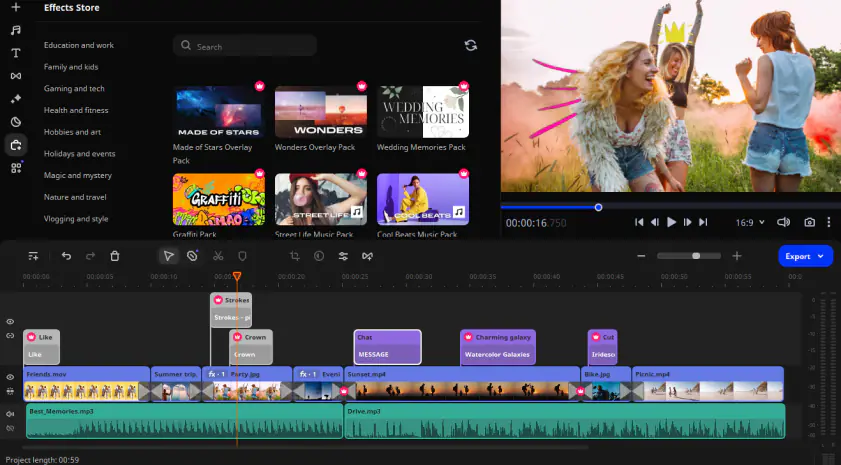
Movavi Video Editor is a very effective way to do both the simple tasks such as stitch video files together, but also to do more complex edits involving special effects, for instance. It can be the first step on the road to becoming a great editor, or it can just be the easiest way to merge videos and photos together for someone who wants a simple interface.
Step 1. Open the installation file. Follow the on-screen instructions and in a couple of minutes, the program will be installed on your PC or Mac.
Step 2. Сlick Add Files and select the files you want to join together. The videos will be added to the Media Bin. Drag and drop your videos into the Timeline at the bottom of the program window. You can also simply drag your videos onto the Timeline.
Step 3. Save the video. First, click Export. In the left part of the pop-up window, you will see tabs with different export options to suit the device or video software you want to use to play your creation.
Key features:
Pros:
Easy to get started with a simple interface
Add transitions and titles as you merge the videos
Nimble software doesn’t take up lots of space on your computer
Cons:
More advanced editing functions can be tough to learn
Microsoft Photos
Best for:
Free editing on a Windows PC
Price:
Free
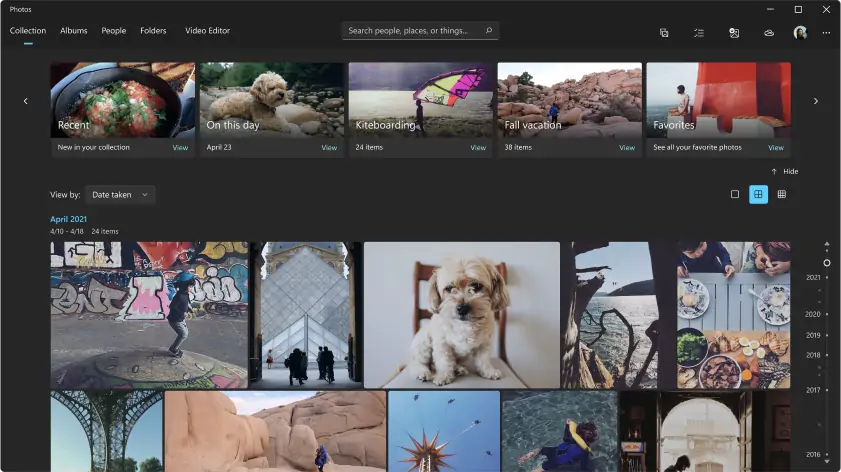
Microsoft Photos is a simple way to combine videos if you are running the Microsoft operating system. As it comes free with your computer, all you need to do is install the app and start making the edits. You can combine two videos (or more) but you can also work intuitively with photos, as the name of the app would suggest. If you are used to the interface used on a lot of the native Windows apps, then this will all be relatively straightforward and hassle-free.
Step 1. Find and open the Photos app on your Windows computer. If you can’t find it, try the search bar on startup.
Step 2. Click on the New Video option and create a new project for merging multiple videos into one.
Step 3. Now click on the plus icon on your screen’s top left corner and navigate to the video files you want to import.
Step 4. Drag them to the correct size and location on the video’s timeline so they play simultaneously.
Step 5. Click on the Export or Share options and select the video settings, before clicking Export to start the process.
Key features:
Pros:
Easy to work with photos and videos
Included with a lot of Windows devices and computers
Cons:
Titles and effects don’t look the most professional
Shotcut
Best for:
Open source video editing
Price:
Free
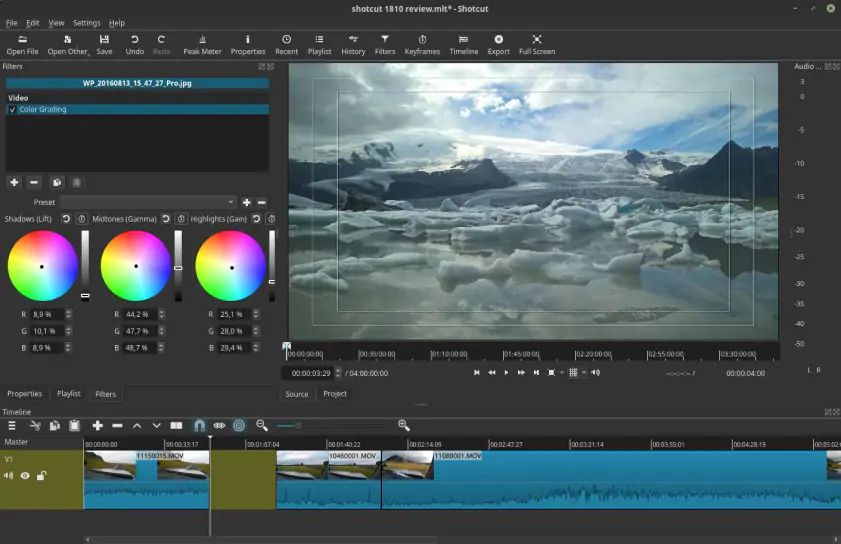
Shotcut is free, open-source software that anyone can download to start editing videos. No need to sign up for a free trial or part with any cash. It’s a little more complex to use than some of the other options on the list, but while it isn’t the best for beginners, it can do some pretty powerful editing when required.
Step 1. Download and install Shotcut on your computer. Launch the software and click on File and then Open File to navigate to your first video clip.
Step 2. Import the second video clip in the same way and drag them both to the desired space on the timeline so they play one after the other.
Step 3. Click on File and Export Video and you will be prompted to provide the video settings you want to export in before creating the final video.
Key features:
Pros:
No payment required
Can perform some complex edits
Allows you to easily add audio and transitions
Cons:
Support can be limited as with most freeware
The website is laden with ads
Mac users have plenty of free software options, including free video mergers, to combine clips with ease and start to add some basic edits.
iMovie
Best for:
Simple interface for Mac users
Price:
Free
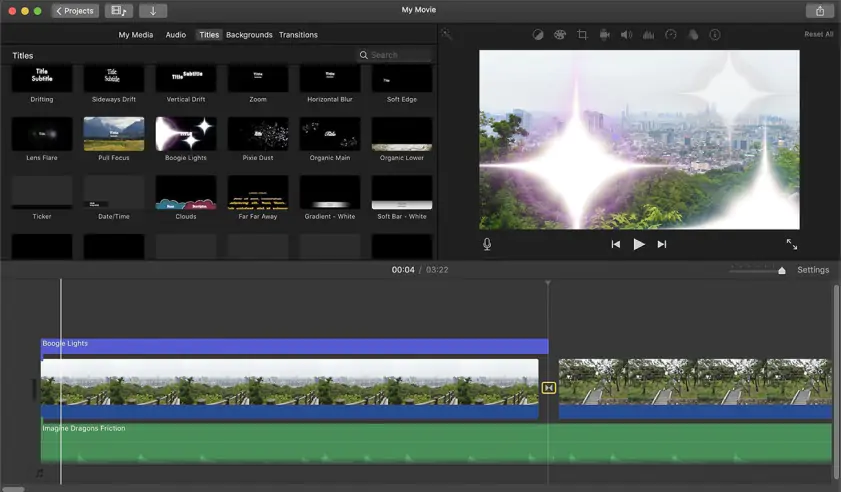
iMovie comes already installed on most Mac systems and even devices including iPad and iPhones. This means that you can start editing in virtually no time, and merging video clips together that you have taken on your phone or tablet. If you are using iCloud to connect your devices, all the videos you take may be instantly available to edit in iMovie across your devices, too. The layout is simple and there is even a limited free media library.
Step 1. Open iMovie and navigate to File and then click Import Media. Select the videos that you plan to combine and click on Import.
Step 2. Repeat the import process for the second file that you want to stitch together with the first. They will then appear in the My Media section of the interface.
Step 3. Drag the files onto the timeline and position one after the other. You can also add transitions.
Step 4. Export by going to File, then Share, then clicking File and saving as a file of your choice.
Key features:
Pros:
Simple interface
Great for accessing videos across Apple devices
Add simple effects to videos and images
Cons:
No Windows version
QuickTime

Best for:
Low memory demands
Price:
Free
Another option to merge videos is to use QuickTime. This isn’t the simplest video combiner in terms of how to use it, and though it doesn’t have much you can add in terms of effects, it does let you do the very basic job of putting two videos together and playing them as one single file.
To combine 2 videos within QuickTime:
Step 1. Open one of the videos in QuickTime.
Step 2. Drag-and-drop the second or any other videos into the QuickTime video player. A window will appear to let you reorganize the videos one after the other.
Step 3. Click the Done button.
Step 4. Go to leave the QuickTime program, it will ask if you want to save the video. You can save in the desired format here.
Key features:
Pros:
Doesn’t take up a lot of space on your computer
Easy to create a video combining two clips
Cons:
No real editing functions such as transitions or effects
No Windows version or mobile compatibility
A number of mobile apps for tablets and phones can concatenate multiple videos into one simply and easily. For those who want to be able to edit on the go, the following options can help.
Adobe® Premiere® Rush
Best for:
Free mobile video editing
Price:
Free with in-app purchases
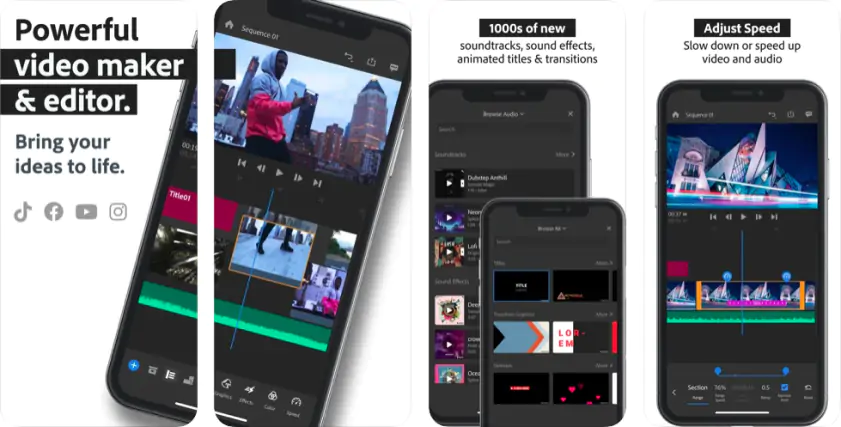
This free mobile and desktop video editing app from the giants that are Adobe allows you to combine your videos with ease on both Apple and Android devices. If you don’t have a very large screen, it can feel a bit clunky. However, the features are certainly impressive and it also links very well with the Adobe® Creative Suite.
Step 1. Create a new project. Click on the Create a New Project button or the small + sign at the bottom.
Step 2. Select videos to open the folder with available video clips. Tap on the videos you want to combine before hitting Create to start.
Step 3. Repeat the process to add more video clips. Hit Create and the app will combine the clips.
Step 4. Tweak different aspects of the video, by dragging along the magnetic slider, and add things like effects and transitions if you wish.
Step 5. To export, tap on the Share button at the top of the screen. You will then be met with Video Quality Settings on a screen. Select Export to save the video clip, now combined, as MP4 or other file types.
Key features:
Multiple graphics templates
Pros:
Integrates with Adobe® suite
Plenty of editing options and overlay options
Cons:
Hard with a small screen such as a smaller phone
Limited functions on the free plan
Movavi Clips (iOS & Android)
Best for:
Included music library
Price:
Free with in-app purchases
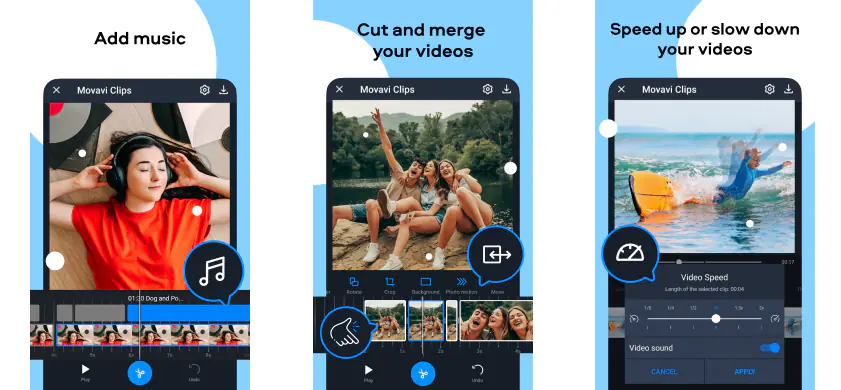
Movavi Clips can be used on either iOS and Android and lets you combine your clips, mash up videos and create excellent results for either your own personal use, or to easily put on social media in the correct aspect ratio. The software has a number of presets and free music you can add, too.
Step 1. Download and launch the app. Tap the plus icon to choose media to add. Choose Video to start editing. Select videos you want to merge.
Step 2. All selected videos will now load. Tap Transitions and choose if you want to add transitions or effects to your video.
Step 3. Tap the Save button on the top right to bring up the save screen. Tap Save once more and the video will export to your library.
Key features:
Add transitions and effects
Pros:
Free selection of music to use
Simple interface, even for beginners
Enhance video quality and set the aspect ratio easily
Cons:
It can be hard to get videos from other devices into your library
Quik (iOS & Android)
Best for:
GoPro video
Price:
Free with in-app purchases
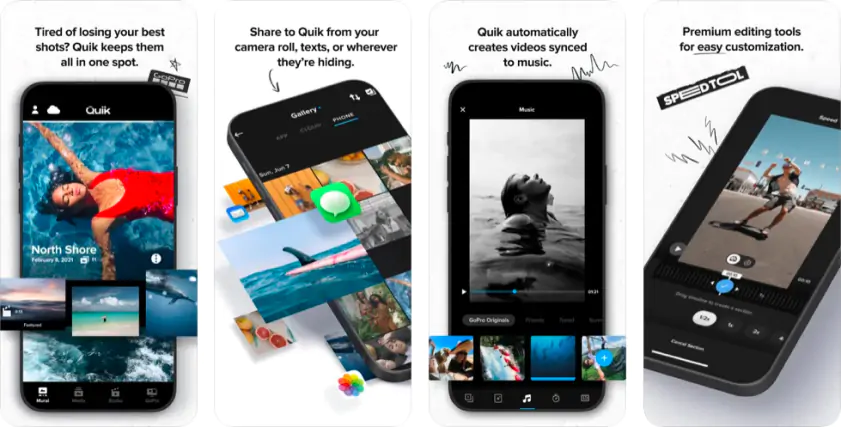
Quik is mainly designed for use with GoPro footage, but it doesn’t exclusively have to be used for that, and it does come with the option to import footage from elsewhere and compile clips you’ve created or downloaded. Even DSLR footage is relatively simple to import and use an iPad or Android tablet using Quik.
Step 1. Install and open the app. It will prompt you to connect to a GoPro, but there is a Skip option if you are not a GoPro user.
Step 2. Click on the button to select media from your phone, device, or the cloud. The chosen videos appear on a timeline.
Step 3. Click and drag to rearrange the videos on the timeline.
Step 4. Click on Export to save your video and set the file type. It will also be backed up on the cloud if you create an account.
Key features:
Free cloud backups
Pros:
Quick and straightforward
Cloud backups are a big bonus
Cons:
Very limited editing features, with no transitions or titles
CapCut (iOS & Android)
Best for:
Social media videos
Price:
Free
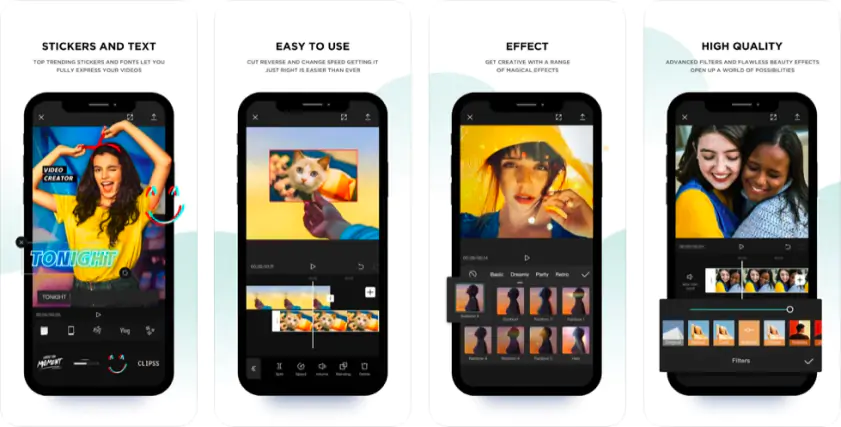
CapCut is a free editor that works on your mobile device and can create videos that merge clips together easily. It’s got a real Instagram sort of feel to it. You can share the videos straight to your favorite social media channels, and there are also some of the other cool features you expect from video and photo social networks. For example, you can add text and stickers directly to the videos.
To join videos in CapCut:
Step 1. Install and open the app before clicking on New Project.
Step 2. Click on the Add button to add videos, and repeat until all the videos you want to clip together are in the project.
Step 3. All of the videos will now appear simultaneously on the timeline. Click to delete any part, trim to size, or add transitions.
Step 4. Click Share to export the video or share directly on a variety of social networks or YouTube.
Key features:
Cut, reverse, and change the speed of videos
Pros:
Easy to make videos with intuitive controls
Easy to monitor the video while you watch it
Some short stock clips and transitions included
Cons:
No support for 4K video
There are also options to join videos online. If you are looking to create a simple video by adding two clips together then you can do so without having to download any software. A simple browser-based online video joiner can make life even easier.
Fastreel
Best for:
Browser video editing
Price:
Free, paid plans available
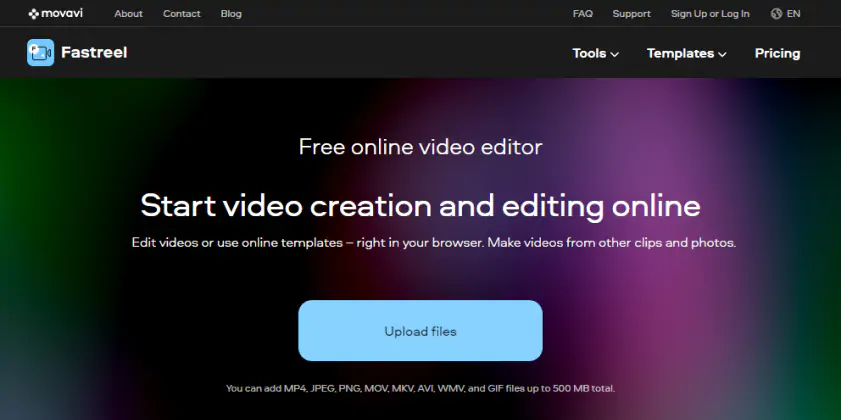
A lot of video editors that allow you to merge videos online don’t have many advanced features, but Fastreel manages to incorporate some simple methods of enhancing your videos, such as transitions and even free media from a library to add to the video. There are limits to the size or the file types, but that’s pretty standard for browser editing.
Step 1. Open the website and click Add Your Files or drag and drop the files to upload the videos you want to join together. Note that files must be in MP4, MOV, MKV, AVI, and WMV formats and under 500 MB in total size.
Step 2. Merge videos. If you want to add transitions, choose a style from the drop-down menu.
Step 3. Export the result. Select the download option to get the right file type for you.
Key features:
Simple drag-and-drop interface
Pros:
Easy to get to grips with
Totally secure
Links well with other Movavi video tools
Cons:
File size limit
Adobe® Spark®
Best for:
Free templates
Price:
Free, paid plans available
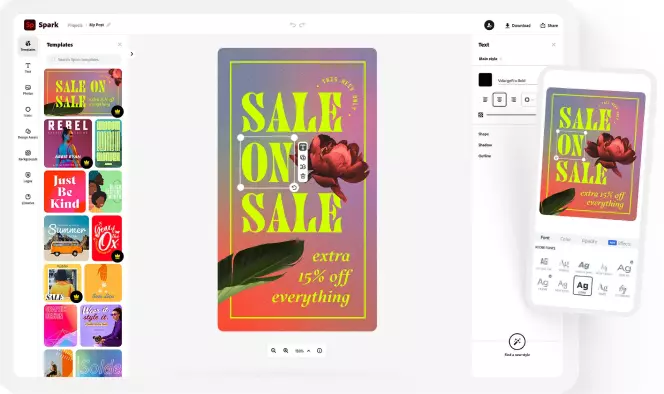
Adobe® Spark® is the browser-based offering from Adobe. It links well with the rest of their software and has some very good templates and options for people to merge videos together and create a quick and simple video for social media or any other use. The editor has a downside as it does put a watermark on all the free videos, so when you upload to social media or YouTube you will have to include the Adobe logo.
How to merge videos using Adobe® Spark®:
Step 1. Open up the site and click on the Create New button on the top of the screen.
Step 2. Select the Video option and then Start from Scratch. This will take you to the editor. Once in the editor, click on Video to upload the video file.
Step 3. You can access the video on the timeline screen that now appears. You can repeat the import process to introduce more than one video and simply click and drag them to rearrange.
Step 4. When you’re happy, click Download to use the main editor and download the file to your hard drive.
Key features:
Options to make different types of media and graphics
Pros:
Simple to use and quick to create simple projects
Free plans available
Cons:
Some features require payment
Can be confusing to use due to all the different media types available
Watermarked videos
VEED
Best for:
Cloud storage
Price:
Free, paid plans available
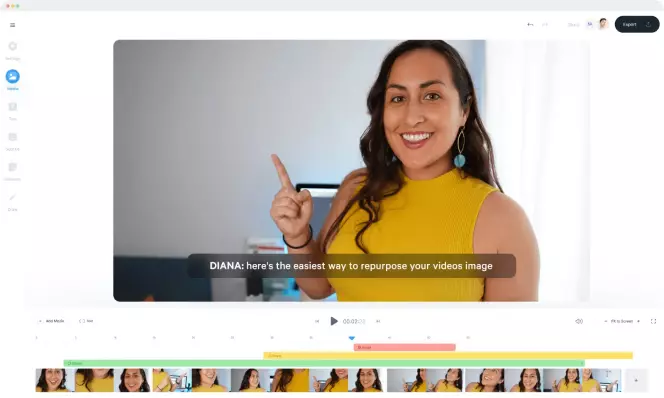
VEED does a brilliant job of letting you choose from a variety of different sources for video. You can load into your project using a device, Dropbox, your hard drive, Google Drive, or even just the URL of a video. It imports into a simple timeline and trimming and altering the videos is pretty easy. There’s also an option to add images or titles over the top of your video.
Step 1. Open the VEED.io editor, and then click Upload to choose the source of your files, either online or on your computer.
Step 2. Arrange the files by clicking and dragging or use the splitter tool to adjust each clip.
Step 3. Choose edit features such as adding a background color or adding separate audio files.
Step 4. Click the export button to render your video in a variety of file formats.
Key features:
Auto subtitle feature
Pros:
Not demanding on your hard drive as you can load from cloud storage
Plenty of effects you can choose to add
Cons:
Very limited features on the free plan
Choosing the right video merger software is all about working out your own needs and matching up the best option. Are you happy to merge videos with a watermark or do you need a clean video? Do you need an HD option? These are all questions to help steer you towards the ideal software to combine videos. Fortunately, there are a number of simple methods to create videos no matter what device you are using. Try different video editors or even media players, such as VLC, to get the best results.
Movavi Video Editor
Сreate awesome videos easily
*The free version of Movavi Video Editor may have the following restrictions depending on the build: watermark on exported clips, 60-second video or 1/2 audio length limit, and/or some advanced features unavailable when exporting videos.
See other useful how-to guides

Have questions?
If you can’t find the answer to your question, please feel free to contact our Support Team.
Join for how-to guides, speсial offers, and app tips!
1.5М+ users already subscribed to our newsletter